If you’ve ever painted a room and wondered why the finish didn’t look quite right, the answer is almost always in the prep. I’ve learned (sometimes the hard way) that how to prep walls for painting matters more than the brand of paint or the brush in my hand. Good prep gives you that smooth, professional finish and helps paint actually stay put. Below is exactly how I walk through a room, tools in hand, plan in mind, so the color you chose shines and the job lasts.
Key Takeaways
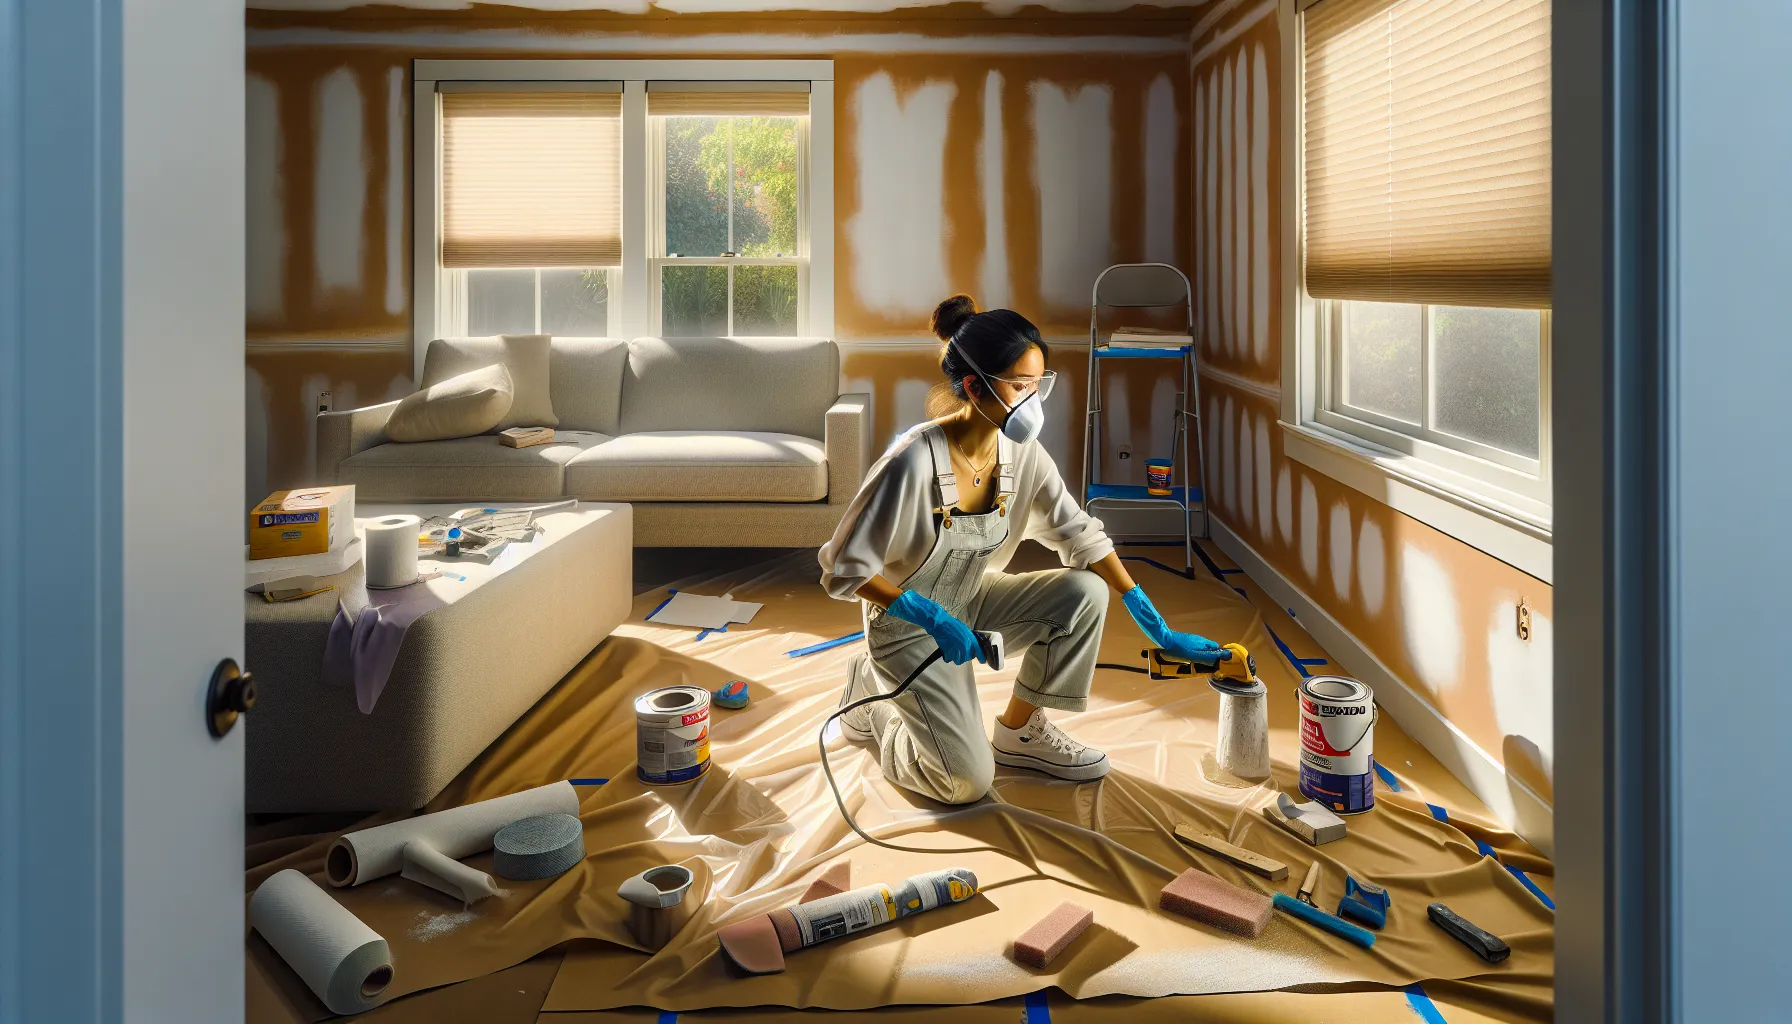
- If you’re learning how to prep walls for painting, start by staging tools and protecting the room—cover floors and furniture, remove hardware, and mask vents and outlets.
- Identify the existing paint type and sheen and check for moisture or stains so you can choose the right adhesion approach and plan repairs.
- Clean thoroughly by degreasing high-touch zones, removing dust and mildew, then rinsing and letting walls dry fully to prevent adhesion and flashing issues.
- Repair and refine surfaces—fill holes and cracks, secure nail pops, retape seams, caulk trim gaps, and sand smooth while scuffing glossy areas for better bite.
- Prime strategically: spot-prime patches and stains or full-prime new drywall, slick or oil-painted surfaces, major color changes, or uneven sheen using the correct primer type.
- Respect label dry times, use lead-safe methods in pre-1978 homes, and remember that how to prep walls for painting is patient cleaning, repairs, sanding, and smart priming.
Gather Tools And Protect The Room
Essential Tools And Materials
I like to lay everything out first so I’m not hunting for a putty knife with wet hands. My go-to kit:
- Painter’s tape (multiple widths)
- Plastic sheeting and/or rosin paper, plus drop cloths
- Screwdriver set: zip-top bags for screws
- Spackle/joint compound and a putty knife set (1.5–6 inches)
- Sanding sponges (medium and fine), 120–220 grit sandpaper
- Degreaser (TSP substitute), mild dish soap, bucket, microfiber cloths
- Caulk (paintable, acrylic latex) and a caulk gun
- Primer suited to the job (more on that below)
- PPE: safety glasses, dust mask or respirator, and gloves
Clear And Cover Surfaces
I move furniture to the center, then cover it with plastic. Floors get rosin paper or canvas drop cloths: I tape edges so nothing sneaks under. Vents, thermostats, and outlets get a quick cover with tape or removable masks. It takes 10 minutes and saves hours of picking paint specks off the floor later (ask me how I know).
Remove Hardware And Fixtures
I pop off switch plates, outlet covers, and any hook racks, then bag the screws and label the bag. Curtain rods, wall art, and floating shelves come down too. For ceiling fixtures or heavy items I can’t remove, I wrap them in plastic and tape carefully. Bare walls make cleaning, repairing, and cutting in way easier.
Inspect Walls And Plan
Identify Existing Paint Type And Sheen
Before I sand or prime, I figure out what I’m dealing with. A quick test: I rub a hidden spot with a cloth dampened in denatured alcohol. If color softens or transfers, it’s likely latex: if nothing happens, it may be oil-based. Sheen matters, too, gloss and semi-gloss need scuffing or a bonding primer for new paint to grab. This little detective work sets the plan for how to prep walls for painting without surprises.
Check For Moisture, Stains, And Damage
I scan for hairline cracks, nail pops, dents, and tape seams that have lifted. In kitchens and baths, I also look for yellowing around vents, splatter near ranges, and any spotting that could be mildew. If I suspect moisture, I tape a square of plastic to the wall for 24 hours: condensation under it can signal a problem to fix before painting. Stains and leaks can bleed through, so I note where I’ll need stain-blocking primer.
Choose The Right Primer
Primer isn’t one-size-fits-all. For new drywall or flat, porous surfaces, a drywall/PVA primer works. For glossy or previously oil-painted trim or walls, I go with a bonding primer to ensure adhesion. Stains, knots, smoke, or heavy kitchen film? Shellac-based or strong stain-blocking primers are my safety net. And if I’m making a big color jump (say, red to soft white), a tinted primer saves coats.
Clean Walls Thoroughly
Degrease Kitchens And High-Touch Areas
Paint hates grease. I mix a degreaser (a TSP substitute) per the label and wipe down walls near stoves, backsplashes, light switches, and around doorways. In kids’ rooms and hallways, handprints and mystery smudges are standard fare, soap and warm water usually cuts it.
Remove Dust, Mold, And Mildew
Ceilings and upper walls collect dust that can ruin a finish. I sweep with a dry microfiber mop first, then wipe with a damp cloth. For suspected mildew (gray/black specks in damp areas), I use a cleaner labeled for mold/mildew, let it dwell as directed, and rinse well. If the staining keeps returning, I pause and address ventilation or leaks: paint won’t fix moisture.
Rinse And Dry Completely
Leftover cleaner can mess with adhesion, so I rinse with clean water and a fresh cloth. Then I let walls dry thoroughly, at least a couple of hours with fans and windows open. If I rush this step, I pay for it later with peeling or flashing.
Repair Imperfections
Fill Holes And Cracks
Small nail holes get lightweight spackle: bigger dings or deep cracks do better with joint compound. I apply thin layers with a putty knife, slightly overfilling to allow for sanding. For recurring cracks, I embed a bit of paper or fiberglass tape in compound to bridge the movement, then topcoat.
Fix Nail Pops And Seams
Nail pops happen when fasteners back out. I tap the popped nail slightly below the surface, drive a drywall screw 1–2 inches above or below into a stud, then cover both with compound. For lifted seams, I cut away loose tape, bed new tape in fresh compound, and skim two to three thin coats, widening the area each pass to blend.
Caulk Gaps At Trim And Corners
I run a bead of paintable acrylic latex caulk where trim meets the wall and into open inside corners. I smooth with a damp finger or profiling tool, wipe excess, and let it cure per the label. This tiny step makes the final paint line look crisp and hides shadowy gaps that catch the eye.
Sand, De-Gloss, And Smooth
Feather Repairs And Knock Down Texture
Once repairs are dry, I sand with 120–150 grit to feather edges, then a quick pass with 180–220 grit for smoothness. If I’ve got random texture boogers (technical term), I knock them down lightly with a sanding sponge so the wall reads as one continuous plane.
Scuff Glossy Paint For Adhesion
Glossy walls are notorious for rejecting paint. I scuff-sand them with a fine sanding sponge to de-gloss, wipe clean, and, if they were very shiny or previously oil-based, plan on a bonding primer. This is one of those “an extra 15 minutes now saves two coats later” moments.
Final Dusting Before Coating
Sanding dust is sneaky. I vacuum with a brush attachment, then use a barely-damp microfiber cloth or tack cloth to grab what’s left. I also run the cloth along baseboards and window stools. Starting primer over dust is like painting over flour, no thanks.
Prime Strategically
When To Spot Prime Vs. Full Prime
I don’t automatically prime every inch. I spot prime over patched areas, stained spots, and any burned-through sheen to prevent flashing. I choose a full prime when walls are new drywall, chalky, very uneven in sheen, very dark-to-light (or vice versa), previously oil-based, or after heavy cleaning/deglossing. The goal is an even, receptive surface, use primer where it earns its keep.
Primer Types For Common Situations
- Drywall/PVA primer: seals fresh mud and paper so topcoat lays even.
- Bonding primer: grips slick or previously oil-painted surfaces.
- Stain-blocking primer: locks in water stains, smoke, crayon, and tannins: shellac-based versions block the toughest bleed-through and dry fast.
- Multi-surface acrylic primer: a versatile choice for most repaints in good condition.
If you’re unsure, I test a small area: good primer makes paint glide and cover better.
Dry Times And Recoat Windows
Labels matter. As a rule of thumb: water-based primers are dry to the touch in 30–60 minutes and ready to recoat in 1–4 hours: shellac often dries in 20–45 minutes: oil/alkyd can take 6–24 hours. Temperature, humidity, and ventilation change everything, so I give it extra time if the room feels damp or cool. Rushing here invites roller lift and adhesion issues.
Note: In homes built before 1978, I treat unknown old coatings with caution, lead-safe practices and proper containment are worth a quick check before any heavy sanding.
Conclusion
Prepping isn’t glamorous, but it’s the secret sauce. When I follow this flow, protect, inspect, clean, repair, sand, and prime, the actual painting feels easy and the finish looks smooth, even, and durable. If you were wondering how to prep walls for painting without overcomplicating things, this is the roadmap I trust. Take your time on the front end, and your paint will reward you every time the light hits the wall just right.
Frequently Asked Questions
What is the best way to prep walls for painting?
Start by protecting floors and furniture, removing plates/fixtures, and covering vents. Identify existing paint and sheen, then inspect for moisture, stains, and damage. Clean and degrease, repair holes and seams, caulk gaps, and sand repairs and glossy areas. Vacuum and tack-wipe dust, then spot-prime patches and stains or full-prime as needed before painting.
Which primer should I use when I prep walls for painting?
Use drywall/PVA primer for new drywall; bonding primer for glossy or previously oil-painted surfaces; shellac or strong stain-blocking primer for water, smoke, or heavy stains; tinted primer for big color changes; multi-surface acrylic for sound repaints. Test a small area and follow label dry times for adhesion.
Do I need to sand walls before painting, and what grit should I use?
Feather repairs with 120-150 grit, then smooth with 180-220 grit. Scuff-sand glossy or semi-gloss walls to de-gloss so new paint adheres, then wipe clean. Vacuum dust and use a damp microfiber or tack cloth before priming. Skip heavy sanding on unknown pre-1978 coatings; use lead-safe methods.
How to prep walls for painting in kitchens and bathrooms?
Degrease around stoves, backsplashes, switches, and doorways using a TSP substitute, then rinse and let dry completely. Treat suspected mildew with a labeled cleaner, address ventilation or leaks, and consider a stain-blocking primer on yellowing or spotting. Ensure surfaces are dry before priming to avoid adhesion and flashing issues.
Can I paint over wallpaper, or should I remove it when prepping walls?
Removing wallpaper yields the most reliable finish. If removal isn’t feasible and the paper is tight, seams intact, and surface clean, you can scuff, secure seams, spot-repair, and prime with an adhesion or shellac-based primer before painting. Be aware seams and bubbles can telegraph, and failure risk is higher.
What temperature and humidity are best for prepping and painting interior walls?
Most water-based primers and paints perform best around 60-80°F with 40-60% relative humidity. Cooler, damp rooms slow drying and can cause roller lift and poor adhesion; use fans, ventilation, or a dehumidifier. Avoid painting below product minimums (often ~50°F) and allow extra dry time in high humidity.