If you’ve ever asked yourself, “what is diamond painting?”, I’ve been there. The short answer: it’s a sparkly, mosaic-style craft where I place tiny resin “diamonds” (also called drills) onto a sticky, coded canvas to create a shimmering picture. Think paint-by-numbers meets cross-stitch, with a glittery twist. I started for the sparkle, stayed for the calm. It’s low-mess, surprisingly meditative, and easy to learn, even if you don’t consider yourself “crafty.” Below, I’ll walk you through how it works, the types of kits, step-by-step instructions, and the little tricks I wish I’d known sooner.
Key Takeaways
- When people ask “what is diamond painting,” it’s a mosaic craft of placing resin drills on a coded adhesive canvas to create a sparkling picture.
- Choose round drills for speed and forgiveness or square drills for crisp, high-detail results; pick full-drill for total coverage or partial-drill for faster, beginner-friendly projects.
- Start small with a 30×40 cm full-drill round or a partial kit, choose poured glue adhesive, and set up good lighting, labeled containers, and small working sections.
- Use checkerboard placement for squares, multi-placers for rows, and gently roll under release paper to seat drills; seal only if drills feel loose or the space is humid.
- Prioritize quality with clear symbols, licensed artwork, and consistent drills, and read reviews to avoid murky prints or sizing issues.
- Diamond painting is a low-mess, calming hobby with starter kits around $8–$25 and larger licensed kits $40–$80+, taking from a few hours to 60+ hours.
How Diamond Painting Works
What Comes In A Kit
Most diamond painting kits include:
- A pre-printed adhesive canvas (with a legend of symbols and color codes)
- Resin drills (round or square) sorted by color
- A pen applicator with wax or putty
- A grooved tray to line up drills
- Tweezers (often included: especially handy for square drills)
- Extra baggies or labels for storage
Some canvases use “poured glue” (a clear adhesive that’s flexible and forgiving) while others use double-sided adhesive tape. I prefer poured glue because it’s less prone to bubbles and “rivers.”
The Basic Process
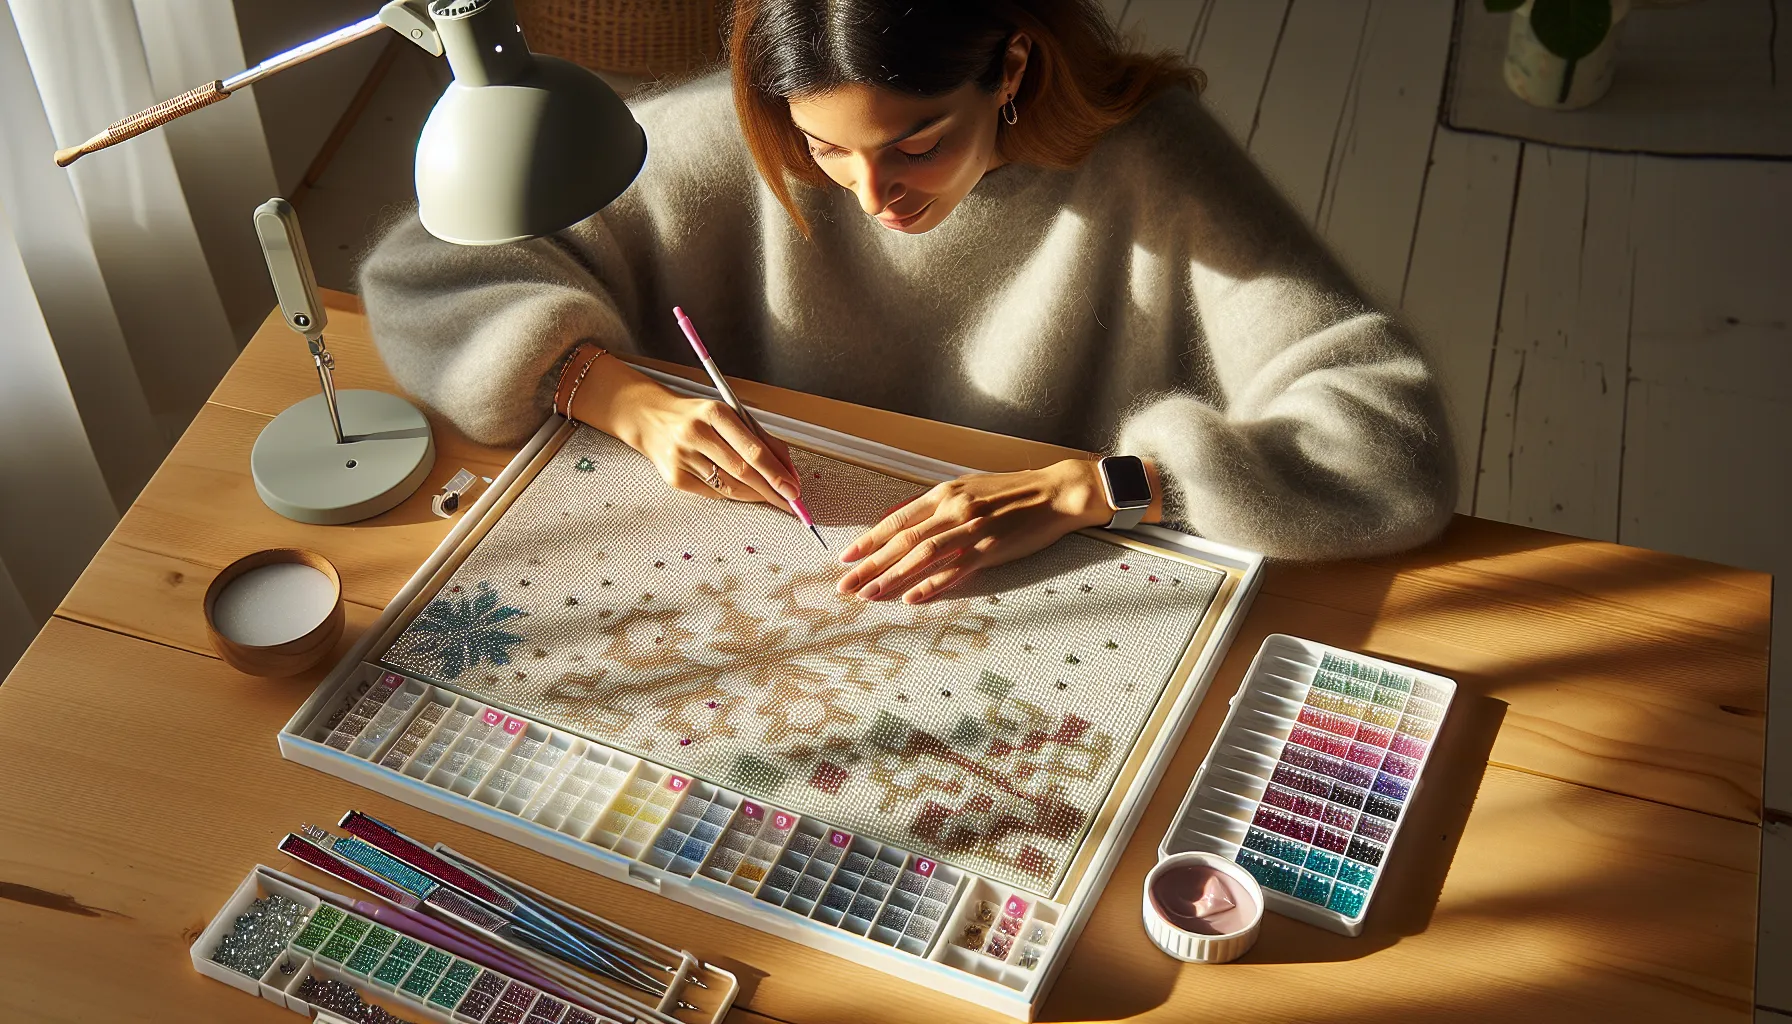
I peel back a small section of the protective film, pour a color into the tray, give it a shake so drills line up, then dip my pen into the wax and pick up drills one by one. Each symbol on the canvas matches a color, place the drill on top, and repeat. I work in small sections, cover the canvas when I’m done, and gently roll it at the end so everything sits snug. That’s the heart of it.
Drill Shapes, Canvas Styles, And Kit Types
Round Vs. Square Drills
- Round drills are beginner-friendly, faster to place, and a bit more forgiving if I’m slightly off. The look is soft and sparkly.
- Square drills fit edge-to-edge for a tiled, high-detail finish. They demand more precision (that satisfying little “click” when they snap in place), and the result is crisp.
Neither is “better”, it’s about vibe. If I want to relax and move quickly, I choose round. If I’m itching for detail and clean lines, I grab square.
Full Drill Vs. Partial Drill
- Full drill canvases are completely covered in drills, immersive and dramatic.
- Partial drill canvases leave part of the picture printed without drills (often backgrounds). They’re faster, great for beginners, and can highlight a focal element like flowers or a character.
You’ll also see variations like rhinestone or special-shaped drills, and canvases with Aurora Borealis (AB) drills, extra iridescent for a little wow. Size matters, too: larger canvases capture more detail, especially for landscapes and portraits.
Step-By-Step Instructions
Prepare Your Workspace
I clear a flat surface, good lighting, and (optionally) a light pad under the canvas to make symbols pop. I flatten the canvas by laying it under a few books, then border the sticky edges with washi tape to keep lint at bay. I label drill containers with the color codes so I’m not hunting later. Pro tip: cut the plastic film into sections or use release paper so I can open just what I need and keep the rest protected.
Placing Drills With Precision
I pour a small amount of one color into the tray and give it a gentle shake so the flat sides face down. A quick dip of the pen into wax, and I’m set. For round drills, I move steadily: for squares, I sometimes use the “checkerboard” method in big blocks, alternating placements, to keep lines straight and reduce popping. Multi-placer tips speed up rows, especially for backgrounds. If a drill lands crooked, I nudge it straight with tweezers or the pen edge. I avoid touching the adhesive with my fingers, skin oils dull stickiness. Working from the top-left (if I’m right-handed) helps me avoid leaning on finished areas.
Sealing, Framing, And Display
Once done, I place parchment or release paper over the canvas and roll it with a brayer or a clean rolling pin to seat the drills. Sealing is optional: a thin, clear brush-on or spray sealer can help if drills feel loose or if it’ll hang in a humid spot. For framing, I’ve used poster frames, shadow boxes, and even stretcher bars. If I use glass, I leave a spacer so the drills don’t press against it: often I skip glass entirely to keep the sparkle alive.
Choosing The Right Kit
When I’m picking a kit, I consider:
- Skill level: smaller sizes, round drills, or partial drills are easier. A 30×40 cm (about 12×16 in) full-drill round is a comfortable starter.
- Image detail: portraits and intricate scenes look better on larger canvases.
- Adhesive: poured glue is beginner-friendly.
- Licensing and print quality: I look for clear symbols, crisp printing, and legally licensed artwork.
- What’s included: pre-bagged drills, extra wax, multi-placers, and tweezers make life easier.
If I’m on the fence, I read a couple of reviews or peek at real customer photos, murky canvases and dim colors are red flags.
Tips And Common Mistakes
Organization And Placement Techniques
- Label everything. I match the DMC codes or kit numbers on containers and the legend.
- Work in small sections to keep the canvas clean and the adhesive fresh.
- Try methods: color-by-color for flow, or section-by-section for quick wins. I mix both depending on the artwork.
- Use a multi-placer for lines and backgrounds: switch to a single-placer for edges and confetti.
- Keep a lint roller or a bit of painter’s tape handy to lift stray fuzz.
- Static in drills? A tiny piece of dryer sheet in the container helps.
Troubleshooting Drills And Adhesive Issues
- Drills won’t stick: lightly dab the area with a clean, dry microfiber cloth: avoid harsh cleaners. If wax builds up on the canvas, I gently pick it off with tweezers.
- Dust on adhesive: touch the sticky area with fresh release paper and lift: it acts like a “lint lift.”
- Popping drills (especially with squares): checkerboard placement, firm rolling, and swapping out odd-sized drills can fix gaps. A warm (not hot) room helps the adhesive relax.
- Bubbles or rivers in double-sided adhesive: gently score the bubble with a craft knife and smooth it down. With poured glue, press out trapped air with a roller, don’t cut.
- Spilled drills: I slide a thin card under the pile, or use a vacuum with a piece of mesh or a sock over the nozzle to catch them. Learned that one the hard way.
Costs, Benefits, And Suitability
Relaxation And Focus
This is the part that hooked me. Diamond painting gives me a calm, hands-busy, mind-lightly-engaged rhythm, great for stress, screen breaks, or when I want something creative without the pressure. It’s accessible for beginners, fun for kids with supervision, and a lovely option for folks who want crafty results without a big learning curve.
Budgeting For Tools And Kits
You can absolutely start small: beginner kits often range from about $8 to $25. Larger, licensed, high-detail kits run $40–$80+, depending on size and extras. Helpful tools include a light pad ($15–$30), storage trays/boxes ($10–$25), multi-placers and extra wax (a few dollars). Time-wise, a small partial might take 4–8 hours: a big full-drill landscape can be 30–60+ hours. If something looks unbelievably cheap, it may be unlicensed or low quality, worth paying a bit more for clarity and consistent drills.
Conclusion
So, what is diamond painting, really? For me, it’s a simple, sparkling escape, tiny clicks of progress that add up to something beautiful. Start with a small round or a partial drill kit, set up a cozy corner, and see how it feels. Worst case, you tried a new hobby. Best case, you’ve found your go-to way to unwind, one glittering tile at a time.
Diamond Painting: Frequently Asked Questions
What is diamond painting and how does it work?
Diamond painting is a mosaic-style craft where you place tiny resin “diamonds” (drills) onto a coded adhesive canvas to form a shimmering image. Peel back a small section, shake drills in a tray, dip the pen in wax, and place each color by symbol. Work in sections, then gently roll to seat the drills.
What’s the difference between round and square drills in diamond painting?
Round drills are beginner-friendly and faster to place, with a softer, sparkly look and more forgiveness if you’re slightly off. Square drills fit edge‑to‑edge, demand precision, and deliver crisp detail with a satisfying “click.” Choose round for relaxed speed; choose square for high-definition results and clean lines.
How much does a diamond painting kit cost, and how long does one take to finish?
Beginner diamond painting kits typically cost $8–$25; larger, licensed, high‑detail kits run $40–$80+. Helpful tools include a $15–$30 light pad and $10–$25 storage. A small partial can take 4–8 hours; big full‑drill landscapes or portraits often take 30–60+ hours, depending on size and complexity.
How long does a diamond painting last, and will the drills fall off over time?
A well‑made diamond painting can last for years. Quality adhesive (poured glue or well‑applied tape), firm rolling to seat drills, and proper framing keep beads secure. Avoid high heat, dust, and humidity; consider a thin brush‑on sealer only if drills feel loose or the piece will hang in damp areas.
Can I turn my photo into a custom diamond painting, and what size works best?
Yes—many retailers offer custom diamond painting kits from your photo. For portraits or detailed scenes, choose a larger canvas (often 40×50 cm/16×20 in or bigger) for clarity. Square drills tend to capture fine lines better; ensure clear symbols, poured glue, and proper licensing or permission for copyrighted images.